
 Custard the Rabbit Knitting Pattern - Download PDF File
FREE Mobile Phone Holder Cushion Knitting Pattern
A mobile phone cushion will hold your phone upright. Knit in one piece, this is...
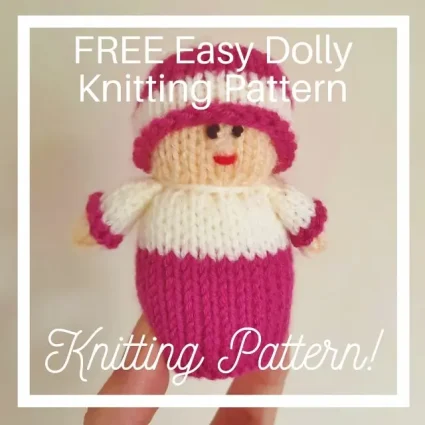
FREE Easy Dolly Knitting Pattern
Enhance your knitted Dolly collection with this delightful pattern, perfect for children as it is...
1 Comment
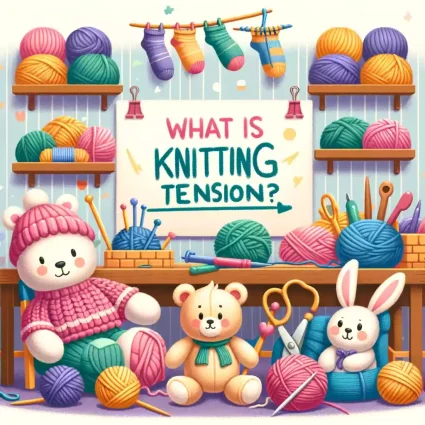
What is Knitting Tension?
Knitting tension, also known as gauge, refers to the number of stitches and rows per...
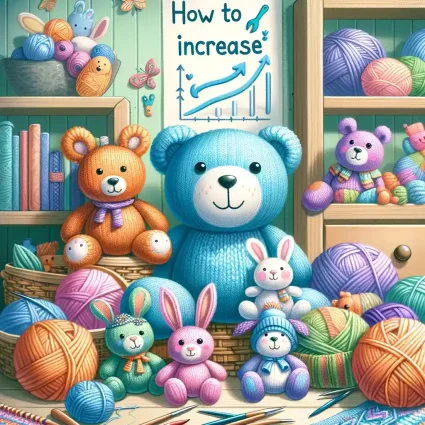
How to Increase (inc) in Knitting
An increase or inc1 is a basic knitting stitch pattern that involves adding an additional...
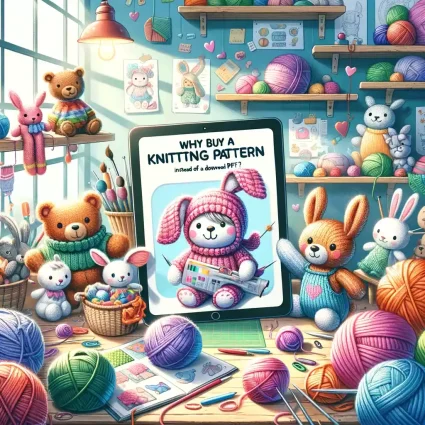
Why Buy a Knitting Pattern as a Leaflet instead of a Download PDF?
Here are lots of reasons to have a knitting pattern as a Printed Leaflet. Still...
Why Buy a Knitting Pattern as a PDF Download instead of a Leaflet?
Here are lots of reasons to have a knitting pattern in a downloadable format. Still...
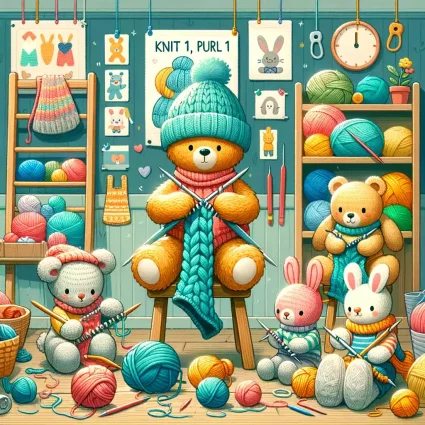
How to Knit1, Purl1
"Knit 1, purl 1" is a basic knitting stitch pattern that is commonly used in...

FREE Easy Chocolate Orange Easter Basket Knitting Pattern
This little Easter Basket knitting pattern is quick and easy. This FREE pattern will make...
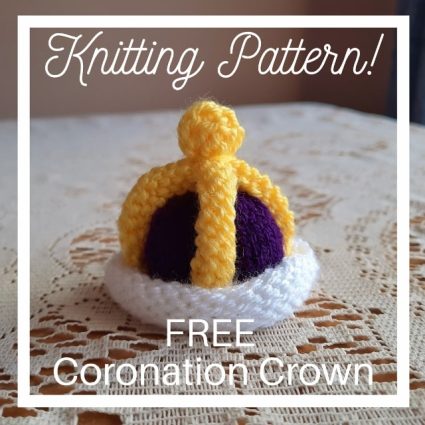
FREE King Coronation Crown Knitting Pattern
This little knitted coronation crown is quick and easy. This FREE knitting pattern will make...
4 Comments
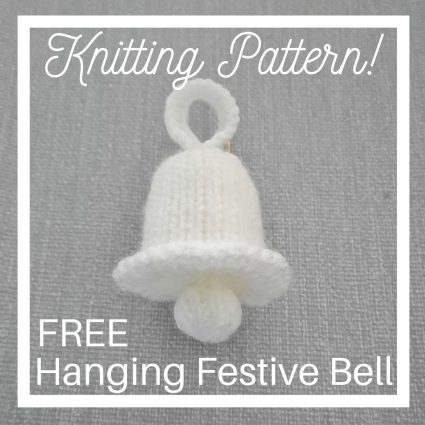
FREE Festive Bell Knitting Pattern
This little knitted Festive Bell is quick and easy. This FREE knitting pattern will make...
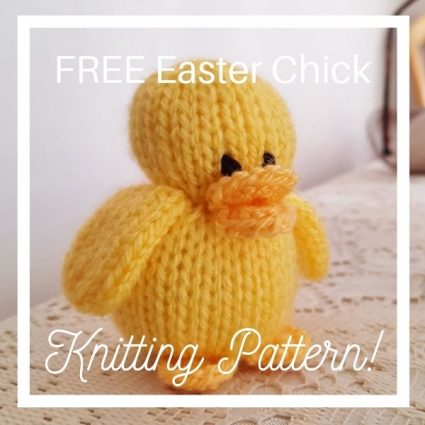
FREE Easy Easter Chick Knitting Pattern
This little knitted chick is quick and easy and FREE so get knitting now!
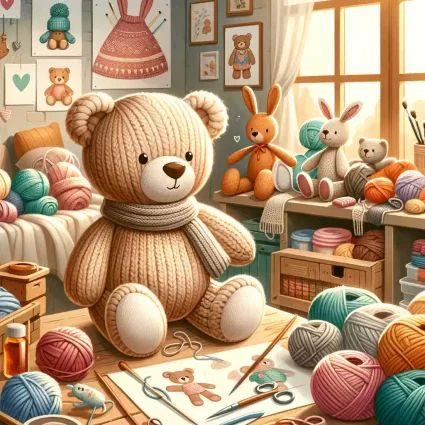
Knit a Teddy
Learn how to knit a teddy with easy-to-follow patterns. Create soft, cuddly handmade bears perfect...
