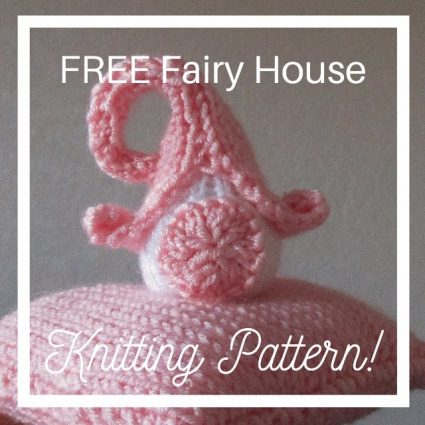
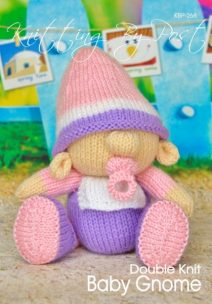
 Baby Gnome Knitting Pattern - Download PDF File
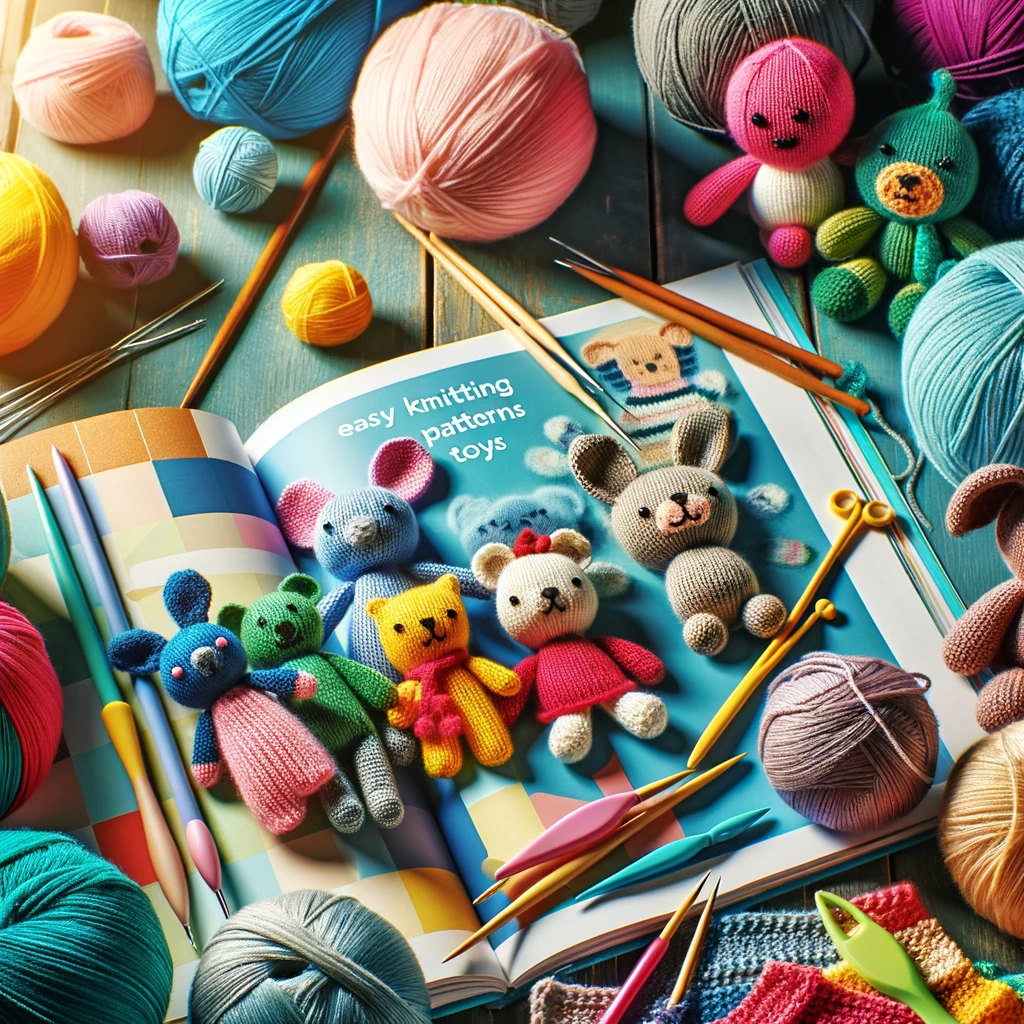
Here’s a cheat sheet for knitters focused on creating knitted toys
Basic Techniques
Cast On:
- Long-Tail Cast On: Ideal for most projects, offering a stretchy edge and a good foundation. It’s versatile for hats, scarves, and sweaters.
- Cable Cast On: Provides a firm, yet stretchy edge, perfect for edges that require structure like button bands and necklines.
Knit Stitch (K):
- The cornerstone of all knitting, forming the V-shaped stitches. Mastering the knit stitch allows you to create garter, stockinette, and ribbing patterns.
Purl Stitch (P):
- The yin to the knit stitch’s yang, creating bumps that add texture and versatility to your projects. Essential for ribbing, moss stitch, and more.
Increasing (Inc):
- Increase (inc) : Knit into the front and the back of the same stitch. Begin with one stitch on the needle and the worked stitch has 2 stitches. A simple increase that adds a stitch without a noticeable hole, ideal for textured patterns and shaping.
- Knit Front and Back (KFB) – the same as an increase.
- Make One (M1): A more invisible increase, perfect for delicate patterns or garments, available in left-leaning (M1L) and right-leaning (M1R) versions.
Decreasing (Dec):
- Knit Two Together (K2tog): Use two stitches on the unworked needle and knit them together in one action. A decrease that is simple to execute, commonly used for shaping heads, feet and other body parts.
- Slip, Slip, Knit (SSK): A left-leaning decrease that mirrors K2tog, used for symmetrical shaping in garments and accessories.
Bind Off (BO):
- Provides a neat and secure finish to your work, ensuring that your knitting doesn’t unravel. Practice different bind-off methods for stretchy edges (like the lace bind-off) or decorative finishes (like the picot bind-off).
Additional Tips:
- Practice Even Tension: Consistent stitch size is key to even knitting. Practice maintaining the same yarn tension for a professional finish.
- Stitch Markers: Use these to mark pattern repeats or significant sections in your knitting, making it easier to follow complex patterns.
- Gauge Swatches: Always knit a gauge swatch before starting a project to ensure your finished size matches the pattern, especially important for garments.
Advanced Techniques:
- Intarsia: Use for Color Blocks: Create pictures or designs with multiple colors, working one color at a time. Keep yarns organized to avoid tangling.
- Fair Isle (Stranded Knitting):
- Multi-Color Patterns: Carry several colors along the row, great for traditional and warm garments. Manage tension to keep fabric even.
- Duplicate Stitch:
- Add Details Post-Knitting: Embroider over knitted fabric to introduce new colors or correct errors, mimicking the knit stitch.
- Circular Knitting:
- Seamless Projects: Use circular or double-pointed needles for hats, socks, and sweaters. Avoids seams for a smoother finish.
- Extra Tips:
- Magic Loop: Knit small circumferences with a long circular needle, avoiding DPNs.
- Steeking: Cut knitted fabric safely to create openings, secured with crochet or sewing.
- Cabling Without a Needle: Speed up cable knitting by manipulating stitches directly on the needles.
- Quick Mastery Tips:
- Even Tension: Especially important in colorwork to prevent puckering.
- Organize Yarns: Use tools like bobbins for intarsia or Fair Isle to keep yarns manageable.
- Start Small: Practice new techniques on smaller projects to build confidence.
- These streamlined tips for advanced knitting techniques focus on enhancing your skill set in a concise manner, allowing for the creation of complex, high-quality knitted toys and garments.
Finishing Techniques:
- Weaving in Ends: Hide yarn tails for a neat finish.
- Blocking: Shape and size your project by wetting and drying it.
- Mattress Stitch: For invisible seams.
Materials & Tools:
- Yarn Selection: Use the recommended yarn weight for your pattern for best results.
- Needles: Match the needle size to your yarn weight. Consider DPNs or circular needles for in-the-round projects.
- Stitch Markers: To mark pattern repeats or important spots in your project.
- Tapestry Needle: For weaving in ends and assembling pieces.
- Row Counter: To keep track of your progress.
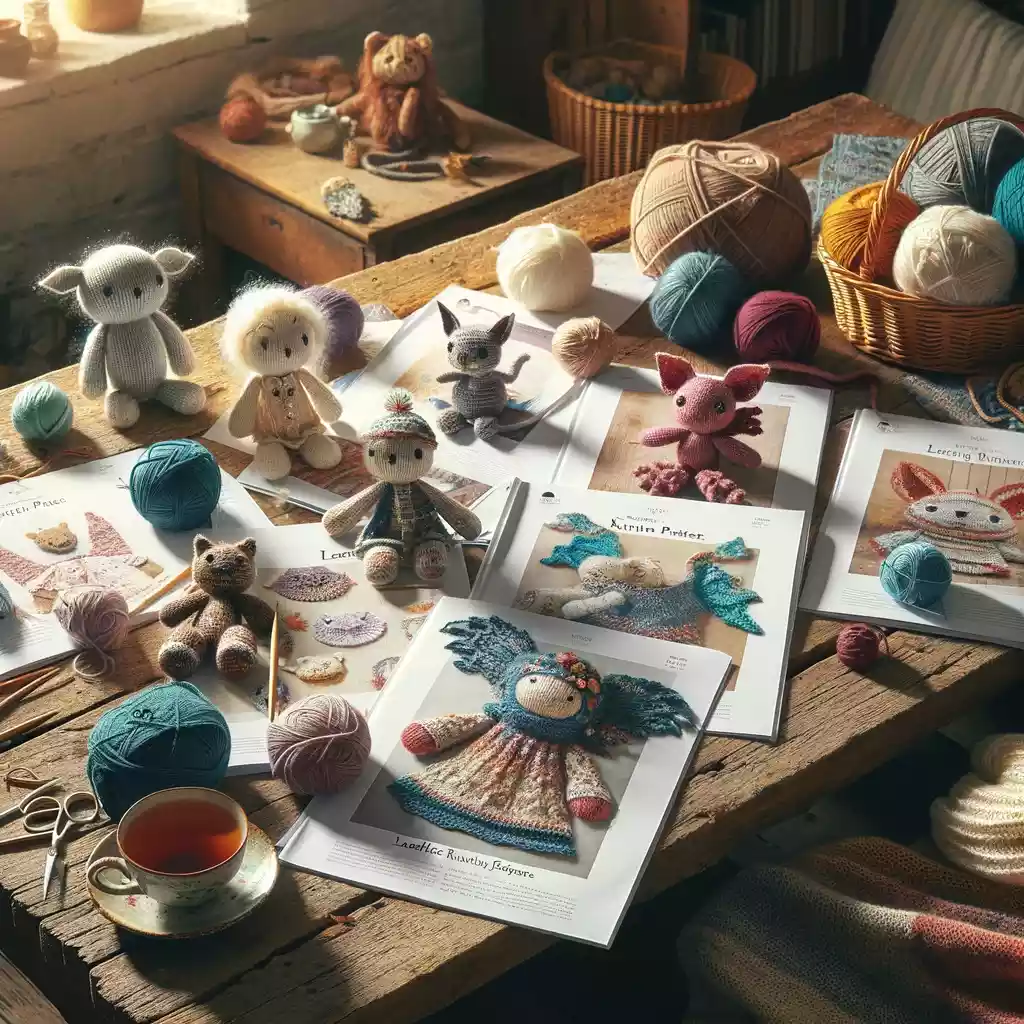
Tips for Knitted Toys:
- Tight Gauge: Knit with a tighter gauge to prevent stuffing from showing.
- Safety Eyes: Use safety eyes for child-friendly toys or embroider eyes for a softer look.
- Stuffing: Use polyester fiberfill for a soft, washable toy.
- Test Gauge: Always knit a gauge swatch to ensure your toy comes out the intended size.
Pattern Reading:
- Abbreviations: Familiarize yourself with common knitting abbreviations.
- Chart Reading: Learn to read knitting charts for complex patterns.
Remember, practice makes perfect. Don’t hesitate to start with simple projects and gradually move to more complex patterns as you gain confidence.